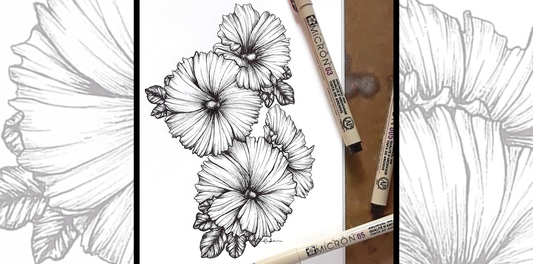
My favorite color - green - is the star of this frame and the printed mat, setting off the yellow of this wildflower print. A video of the process is at the end of this post, if you'd like to watch the overview. Otherwise, let's get started!
For this project, we will need the following:
- acrylic paints of your choice. I used Arteza acrylic paints in Scarlet Red, Burnt Sienna, Prussian Green, Mid Yellow and White
- small sized artist brushes of your choice. I like Winsor & Newton Cotman brushes and Winsor & Newton University brushes
- hot glue gun (optional)
- small lace trim (optional)
- wooden picture frame of your choice. I always recommend second-hand or an extra frame you already have
To begin, you'll want to clean and prep your frame. I use a cloth and a chunky paintbrush to clean them and prep them with several coats of a white or off-white chalk paint or artist's gesso. I have a free PDF download if you would like step-by-step instructions and my specific product recommendations:
Click here for the PDF frame prep guide
I started my frame off with a bow. Using red, yellow, white and a touch of green, create a vibrant orange color. Make the center knot of the bow in a small, rounded rectangle shape. Start with the very tip of your brush to make the first half of your loop, applying more pressure as you go and ending again with only the tip of the brush. Start again with the same process at the knot and connect to the first half of your bow. (You can see this process in the video at the end of this post.)

Add a second loop to the other side of the knot. To create a double bow as I did, repeat this process a bit lower than the first loops. Use the same thin-thick-thin brush technique to add the trailing ribbon out from your loops.

With a mid-tone green, start each stem with a single line, using graceful, slightly curved lines to achieve a more organic feel. To add the leaves, hold the brush so that the very tip is touching at first, apply more pressure as you pull away from the stem and then end with only the tip touching again. Again, you can watch the video at the end of this post if you would like to watch me make my leaves.
Mix a darker shade of green to add shadows to the inside of each leaf. After finishing your leaves, mix a lighter shade of orange and add some highlights to the bow.

Next, add green and yellow polka dots in the white space around the frame. Once you're sure the leaves are completely dry, use a very light - almost white - shade of green to add some vein details to the leaves.

If you want an extra element, cut lace or trim to fit inside the frame. I decided to only use the trim on the top and bottom but experiment and have fun!

Add a thin line of hot glue to the inside of the frame and place your trim there. Be sure to check the front of the frame so you get the trim where you want it and nice and even.

And your frame is ready for your favorite photo or print! If you'd like a copy of my Black Eyed Susan print with printed mat, click here.