Handmade Christmas ornaments are such a beautiful way to create heirloom pieces and thoughtful gifts. I'd love for you to give this one a try! There is also a video at the end of this post, if you would like to watch the process.
For this project, I used the following:
- ceramic Christmas ornament
- acrylic paints of your choice. I used Arteza paints in Burnt Sienna, Crimson Red, White, and Prussian Green
- small artist brushes
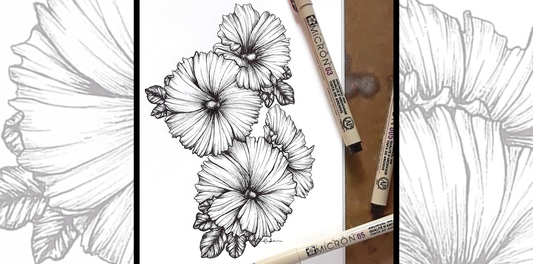
Start by making egg-shaped rosebuds spaced around your ornament in a light pink. (We'll use three shades of pink for this design.) Once dry, use a medium shade of pink to add shadows to the sides and bottom of each bud. When that is dry, use your darkest pink to add a bit of linework, starting from the ends and tapering off. Just a few lines on each rosebud will be plenty.

Next, add your stems in burnt sienna (brown). If you have a couple rosebuds close together, you can connect them with a single stem. Add leaves in the same color by holding the brush so that the very tip is touching at first, applying more pressure as you pull away from the stem and then ending with only the tip touching again. Watch the video at the end of this post if you would like to watch me make my leaves. Use this same technique to add small, light green leaves where there is extra space along the stems. Use a darker green to add shadow to the ends of your green leaves.

Once completely dry, you can finish with a matte varnish, if desired. You'll have the prettiest tree in town!